
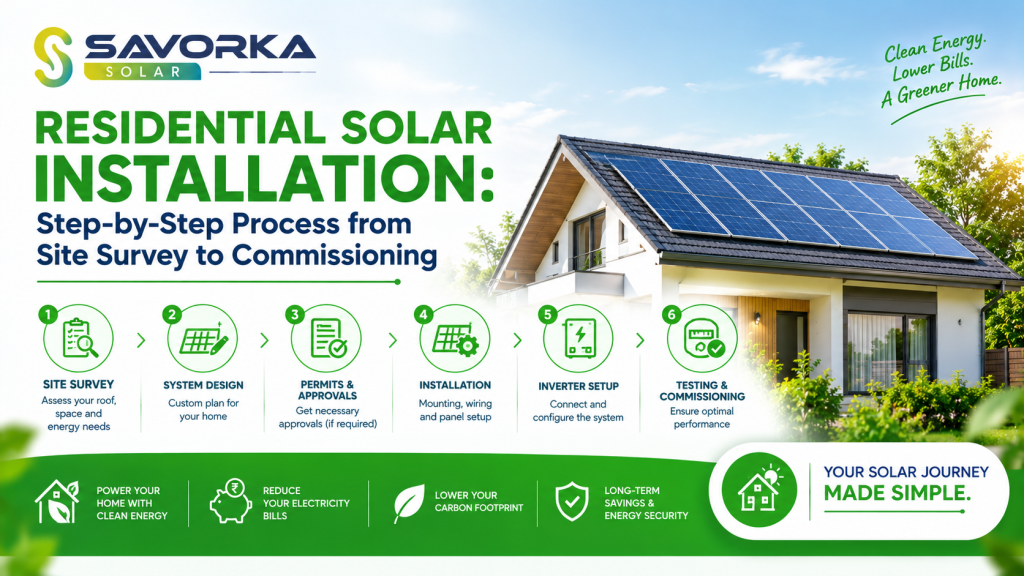
A professional residential solar installation involves more than simply mounting panels on the roof. It includes site assessment, system design, equipment selection, electrical work, approvals, installation and testing.
Here is what homeowners can expect from the process.
1. Site Survey and Roof Assessment
The first step in residential solar panel installation is understanding whether your property is suitable for solar.
A solar professional typically assesses:
- Available roof area
- Roof condition and structure
- Shading from trees or nearby buildings
- Roof orientation and layout
- Electricity connection
- Current electricity consumption
- Suitable location for the inverter and other equipment
The survey helps determine how much solar capacity can realistically be installed and where the panels should be positioned.
A shadow-free roof area is particularly important because significant shading can reduce solar generation.
2. Understanding Your Electricity Consumption
The right solar system should be based on your household’s actual electricity requirements.
The installer may review your recent electricity bills to understand your monthly consumption and usage pattern.
For example, a home with relatively low electricity consumption may need a smaller system, while a larger home using multiple air conditioners, water pumps and other appliances may require greater capacity.
The objective is to select a system that balances electricity demand, available roof space and project budget.
3. Solar System Design
Once the site and electricity consumption have been assessed, the installer prepares the system design.
The design determines:
- Number and arrangement of panels
- Panel orientation
- Mounting structure
- Inverter capacity
- Cable routing
- Electrical protection
- Equipment placement
The design should also consider access for future cleaning and maintenance.
For grid-connected systems, the design must follow the applicable technical and electrical requirements of the relevant DISCOM.
4. Equipment Selection
The next step is selecting the major components of the system.
A typical residential system includes:
- Solar panels
- Solar inverter
- Mounting structure
- DC and AC cables
- Protection devices
- Earthing and other safety components
- Metering equipment as applicable
Homeowners should compare equipment specifications, warranties and installation quality instead of choosing a system solely on price.
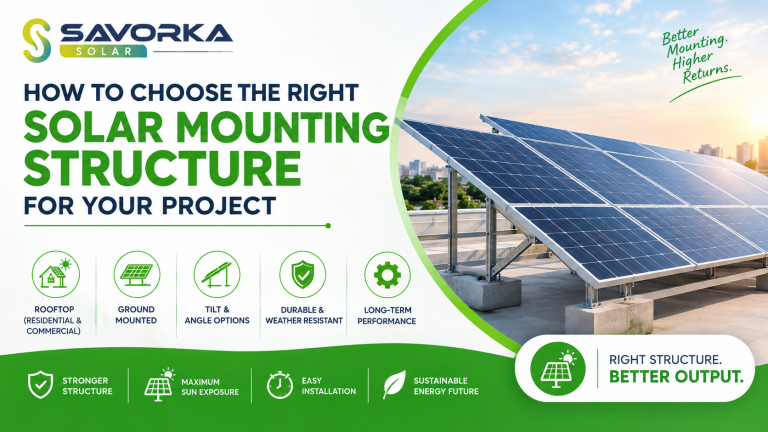
The mounting structure is also important because it supports the panels and keeps them securely positioned throughout their operating life.
5. Approvals and Documentation
For eligible grid-connected residential systems, the required application and approval process is completed through the applicable DISCOM and government portal procedures.
Homeowners applying for government support under schemes such as PM Surya Ghar: Muft Bijli Yojana need to follow the prescribed process and documentation requirements.
The PM Surya Ghar National Portal provides information about the residential rooftop solar application process and related scheme requirements.
6. Rooftop Solar Installation
After the necessary approvals and planning are completed, physical installation begins.
The mounting structure is installed first, followed by the solar panels.
The installer then connects the panels to the inverter and completes the required DC and AC electrical connections.
During rooftop solar installation, proper cable management, earthing, protection devices and weather-appropriate installation practices are important for system safety and reliability.
The installation should also avoid unnecessary damage to the roof.
7. Electrical Connection and Testing
Once the equipment is installed, the system undergoes electrical checks.
The installer verifies the connections, protection equipment, earthing and inverter operation before the system is connected to the grid.
Any issues identified during testing should be resolved before commissioning.
This stage is important because correct electrical installation helps the system operate safely and reliably.
8. Net Metering and DISCOM Inspection
For applicable grid-connected systems, the required meter and DISCOM procedures are completed after installation.
A bidirectional meter may be installed where net metering is applicable. This allows electricity imported from and, where permitted, exported to the grid to be accounted for according to the applicable regulations.
The exact process and requirements can vary between states and DISCOMs.
Homeowners should therefore confirm the current requirements applicable to their electricity connection.
9. Final Commissioning
Commissioning is the final stage of the solar panel installation process.
Once the required inspection, electrical checks and approvals are completed, the system is switched on and begins generating electricity.
The installer should explain basic system operation, inverter monitoring, safety precautions and maintenance requirements to the homeowner.
Monitoring the system after commissioning can also help identify unusual drops in generation early.
How Long Does Residential Solar Installation Take?
The overall timeline depends on factors such as system size, roof conditions, equipment availability, approvals and DISCOM procedures.
The physical installation itself may be completed relatively quickly for a standard residential project, but the complete process from application to commissioning can take longer because approvals and metering are also involved.
A reliable installer should explain the expected timeline before work begins.
What Should Homeowners Check Before Installation?
Before choosing a solar installer, compare:
- Equipment specifications
- System capacity
- Mounting structure quality
- Installation scope
- Product and workmanship warranties
- Government subsidy assistance
- Metering support
- Expected generation
- After-sales service
Do not select an installer based only on the lowest quotation.
Why Choose Savorka Solar?
Savorka Solar provides residential solar solutions designed around a property’s electricity consumption, rooftop conditions and installation requirements.
From site assessment and system design to solar panel installation and commissioning support, a structured approach helps homeowners make a more informed solar investment.
You can explore Savorka Solar’s residential solar solutions to learn more about residential installations.
Final Thoughts
A successful residential solar installation starts well before the panels reach the roof. Site assessment, system design, equipment selection, electrical planning and proper installation all contribute to the system’s long-term performance.
For homeowners considering solar, understanding each stage from survey to commissioning makes it easier to compare installers and choose a system that fits their actual energy requirements.
Planning rooftop solar for your home? Talk to Savorka Solar for a professional site assessment and a residential solar solution designed for your property.
Frequently Asked Questions
1. What is the first step in residential solar installation?
The process generally begins with a site survey to assess the roof, shading, electricity consumption, electrical connection and installation requirements.
2. How long does solar panel installation take?
The physical installation can be completed relatively quickly for a standard residential system, but the complete process may take longer because approvals, inspection and metering can be involved.
3. Is net metering required for every residential solar system?
No. Requirements depend on the system type, state regulations and the applicable DISCOM process.
4. What should I check before choosing a solar installation company?
Compare equipment quality, system design, installation experience, warranties, subsidy and metering assistance, pricing and after-sales support.